Showing posts with label Winter Woodlands. Show all posts

Sunday, December 12, 2010

Thank You Gifts Blog Hop

Welcome to the "Thank You Gifts Blog Hop".  I am so glad you are here visiting my blog.  Thank you to Joy for hosting this hop.  If you are not starting at the beginning, please feel free to start with Joy's blog.


Today I am showing three different ways to creatively give candy. First is a house box.  Second the traditional  candy box that I made.  Finally, a tree box. 


Here is the directions for the house.  I used Winter Woodlands  building  # 3.  You can make this on any size bug, but I would recommend resizing it with DS or the gypsy.  For starters,  you can make the house taller than it would be on its own and I also resized the door to not have the step.
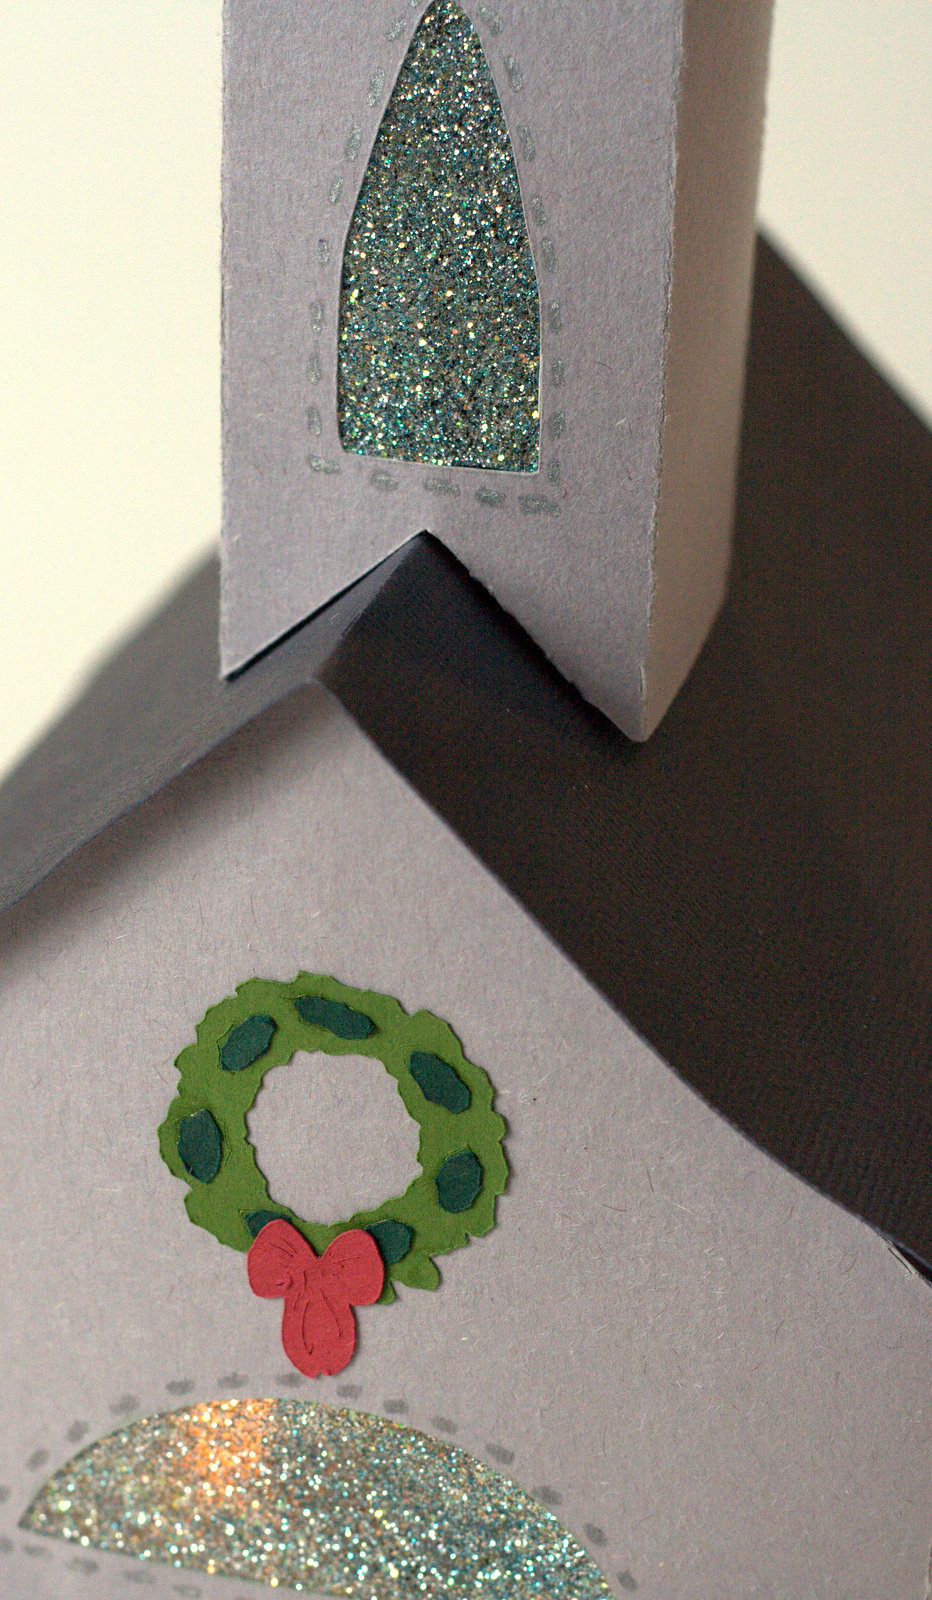
 Next I scored and cuttlebugged all that need to be done. 
 Don't those windows look cute?
 Here it is done.  I used part of a circle punch on the side to make it easier to pull the boxed out.
I used my scorer to make the box insert.  I just measured two sides of the house and measured how high (tall), I wanted the box to be.  Then I just scored and cut and assembled. Now it is ready to fill with candy.  The ribbon holds the candy in the house pretty well, so it doesn't drop out.

 *************************************************************

Now for the Candy box.  I looked all over for a box like this one.  I just couldn't find one I liked.  So I made my own, using my gypsy and George & Basic Shapes.  Here is how it looks before I folded it together.


My sides fold in double, so it is firmer and sturdier.    I used my ATG to put it together and the tape holds it perfectly.
 I made several colors.  The heavier the card stock, the better they look.


Your options are limitless for the goodies you can put in these boxes.  We did Cranbery Almond White Chocolate,  Peppermint bark, English Toffee,  Chocolates, and Peanut Brittle. Let me know if you want me to post the recipes and I will  if I get enough requests.  Lastly I added a pretty ribbon/bow to each.

 *************************************************************

Lastly,  if you have the gypsy, then you should have Tags, bags, boxes and more.  This tree is there and is super easy. I use the window option and have now cut out over 30. I used acetate for the window.  I have filled them with various small Christmas candies, like M&M's,  gummy bears/ snowmen & trees, chocolate covered pretzels, candy corn. 


Joy http://joyslife.com/
Ruthie  http://septemberninth.blogspot.com/
Angela http://creativecraftin.blogspot.com
Carrie http://thegreenbeanscrafterole.blogspot.com
Denise (that's me) http://cricutmyway.blogspot.com/
Gale  http://www.thehappystamper.com/
Janis http://pausedreamenjoy.blogspot.com
Jen   http://scrapaholicjen.blogspot.com
Jenny http://crazyaboutcricut.blogspot.com
Jin  http://underacherrytree.blogspot.com
Julie http://cricutchick.blogspot.com
Lori http://scrappinmystressaway.blogspot.com
Mari (Momo)  http://madebymomo.blogspot.com
Misty http://abusyplace.blogspot.com
Natalie http://timelesslegacydesigns.blogspot.com
Raven http://love4stamps.blogspot.com/
Theresa http://www.thescrapbookingqueen.com/
Tracy http://www.craftjunkietoo.com/
Yolanda http://yoliebean.blogspot.com

 *************************************************************
 Thanks for following this long post.   Gale is next click here to go to her blog.

 Please leave a comment for this blog candy. I love comment.   Followers are always welcome.  Thank you for stopping by.

Wednesday, December 1, 2010

Gift tags CCC #53


This week at Cricut Cardz Challenge # 53 we were to either make a gift tag or a 3x 3 card.  I chose the gift tag, so I could be one step closer to being ready for Christmas.  I chose the tags above, because they will go nicely with the wrapping paper I have recently picked up.  I hope you will join us this week CCC.
The blue tags are cut using Winter Woodland tag option. I used packing tape to the back to add the glitter. Doodled and then added ribbon. I used ones like this last year. I just love them. I will experiment some more to see if I can find a new favorite this year, but this will be hard to beat for me. The last two sets in the green and red are cut from the tag option on Winter Frolic. I embossed  the "To" and used stickles in at the bottom.

I embossed the bottom tags. They are almost pretty enough to have by themselves.

Tuesday, November 30, 2010

3-D Building # 7 Clock Tower Winter Woodlands Village

Here is my final building for this year's Christmas Village. I know it is suppose to be winter, but I added a climbing rose bush, because I thought it would be nice. After all not everywhere has a snowy cold Christmas. I hope you have enjoyed. I hope to get a picture of all of them set up together posted later. Please feel free to let me know what you thought.
Tiny bubbles cuddlebug for the roof.  Wish I had more folders like this.   Maybe for Christmas.
Posted by Picasa

3-D building # 6 Winter Woodland Villiage

 
I just love the white trim and fence I added.  The fence is from Paper Dolls Dress Up.  The swag from Christmas Solutions, the bow is from a wreath I used on another house.


Here are a couple of others villages I found online for inspiration:
Here, herehere, and here

3-D Building # 3, 4, and 5 Winter Woodland Village

Here is building 3, with some simple holly added.

I just love this light post from Jolly Holidays. 


We are just about done with the village scene.

3-D Building # 2 Winter Woodland Village

Here is the church I made.  Pretty simple design.  I just doodled around the windows, added a wreath from the Christmas solutions cartridge. The windows in all the buildings are made using packing tape and glitter.  It is an assortment of white, silver and blue glitter.


Here is some one else's inspiration to look at Here. Oh how I wish I had those embossing folders.

3-D Building # 1 Winter Woodland Village

Here is building # 1 from the Winter Woodland Cartridge. I made this set last year with my baby bug. If you would like to see that series from last year.  I will put the links at the bottom of this post.
This year I used my expression, but soon realized that it would be pretty close to last years size, unless I got a 12  x 24 mat.  I also found it difficult  to get 12 x 24 solid paper in colors I would like to use for houses.  So I went to the craft store and  bought poster board.  I used my normal blade ( It's all I have) and it cut just fine on pressure max and blade 6.  For this house I did not have the pressure set on max, since it was my first try.  You can see the cut is not as crisp, but I was not about to waste a poster board, so I made due.  The size was done on my gyspy to the larges size the mat would allow.

The wreath and the Noel banner came from Jolly Holidays.  What a cute cartridge it is.  It is my first lite that I have gotten and I am quite pleased.

Here are some links to my ones last year and also a link to a cricut post that tells the size of your paper for each house.  Very nice resource.

House by paper size  http://www.cricut.com/messageboard/tm.aspx?m=5491414
Last years post 1   I used some My Community on these ones.
Last years post 2
Last years post 3
  
Hope you enjoyed this, much more to come.

Friday, July 9, 2010

Christmas in July #2 Winter Woodland Snowman card


Wow, this is great. Yesterday I entered my first challenge. Now a day later I am entering my second one. This has been fun, since it gives me an excuse to make cards. This one is for a "Christmas in July" challenge from Mary on Cardz TV. The only requirement was to use a snowman. I am pretty pleased with how it turned out.

Sunday, December 27, 2009

Winter Woodland buildings Part 2

The church and the clock are both from Winter Woodlands. The fire station, candy store  and cafe was converted with design studio to be 3-D.  I used cricut markers to highlight the details that would be lost otherwise.


Winter Woodland's Village


Here is the winter village I enjoyed making.  It was a first for me.  They came from the 3-D buildings in Winter Woodlands. Additionally I used design studio to convert some buildings from My Community into 3-D buildings.  From this I have learned the options are unlimited.  I sure enjoyed these in my house during the holiday season.  A couple days before Christmas, I decided they would be ruined if I tried to save them until next year and yet they were too nice to just toss, so I made a box to put inside each one and filled them with treats for neighbors and friends.

Winter Woodland 3-D Houses

Here are the house close ups.  The windows are made using packing tape and glitter.  I made each house as big as what would fit on my 6 x 12 mat, by using design studio to resize all images to fit.